Last Month
 |
Monthly
Menu |
Next Month  |

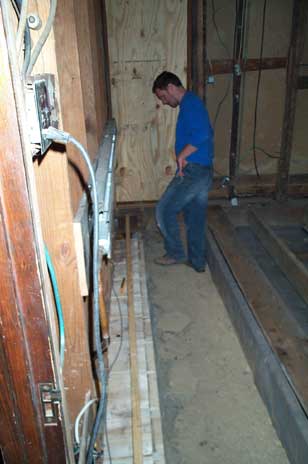
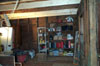
Here's Mike scoping out the problem with the foundation
wall, before he finishes laying the plastic.
|

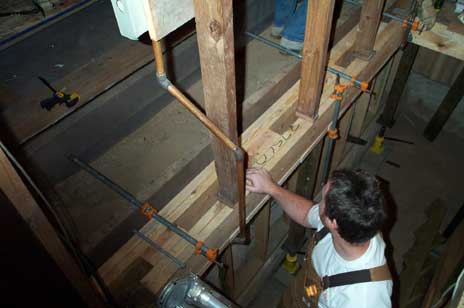
Lots of clamps were used here. Don't ask me why, somehow
it was part of fixing the foundation wall.
|

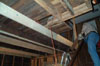
The basement stairs were once again removed and a footing
was poured for the fourth lally column in the basement.
|

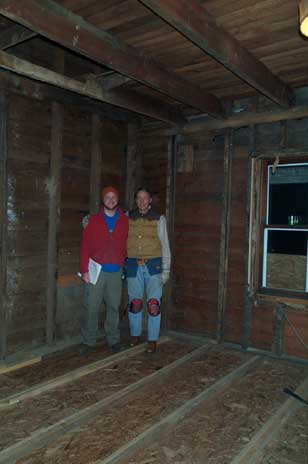
Here's Mike looking good in his new bibs...what a smile!
:-)
|

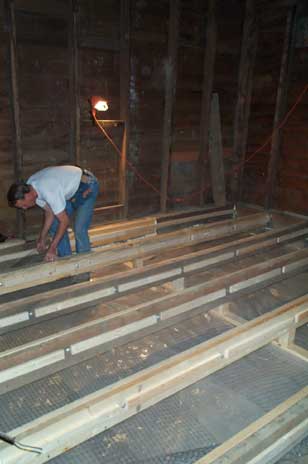
Once the joists were all sistered, Mike and
Dad installed ledger boards on the joists and chicken wire. |

Here's Dad installing the chicken wire. This is used to
hold the insulation in place and just above the vapor barrier
or plastic.
|
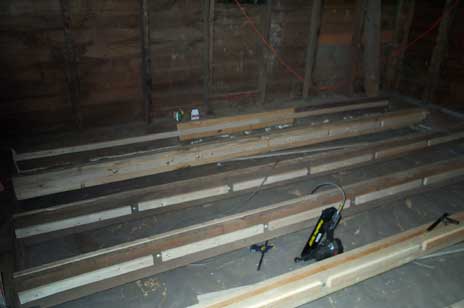
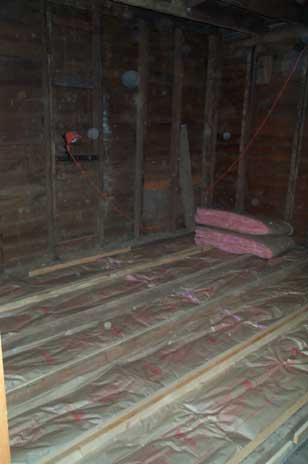
Here's the whole floor insulated between each joist.
|

A job well done by both Mike and his dad! The plywood/OSB
is now in place and all ready for the radiant floor tubing.
|
For now, the floor is covered with temporary sheets of
subflooring and all of the tools from the living room were
moved over to the den.
|
After barely a break for dinner, Mike and Dad worked anxiously
cutting out floorboards to open up and showcase our oak
staircase. Mike must have checked out that opening about
a dozen times that night, oh so proud of his design idea.
I totally agree, it's pretty sweet!
|

Here's what happens when you leave an engineer and an architect
together for too long....calculated perfection and in this
case that means levelness! Mike and Dad plugged all of their
measurements into the computer to determine exactly how
to fix the sloping second story floor.
|

The guys jacked up the 2x8" joists so that the 2x10"
sisters could be put in place. This new joist will level
the bedroom floor and what will be the drywall ceiling in
the living room.
|

Here's a look at the installed sisters for the ceiling.
This helps bring our distance between joists down to 21"
and takes out quite a bit of bounce in the floor.
|
Looking through the hole in the floor of the 1st bedroom.
Mike had removed all of the patched part of the floor to
be properly fixed.
|
Historic Note:
We think this room had a closet and a fireplace/chimney
running through it when it was originally built in 1886.
|
|
Last Month |
Monthly
Menu |
Next Month |