
![]()
![]()
![]()
![]()
![]()
![]()
![]()
![]()
![]()
This month Mike spent a lot of time trying to get ready for the parents visit. Mike installed baseboard trim in the baby room and the guest bedroom. He primed the walls and the ceiling, and did the faux finish on the ceiling in the master bedroom. Mike's folks came over Memorial Day weekend to help us work on the house and they all got a lot accomplished. I mainly stayed in the kitchen and kept their energy levels up.
Last Month
Monthly Menu Next Month
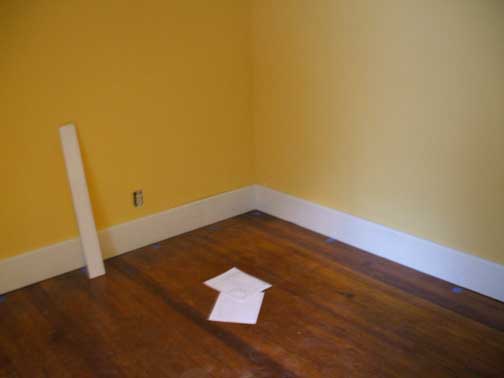
The baby room baseboard trim.
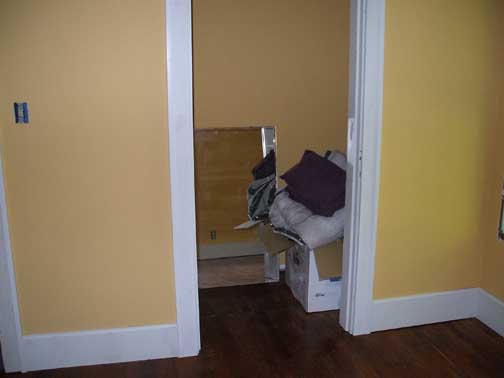
Here's the trim around the door.
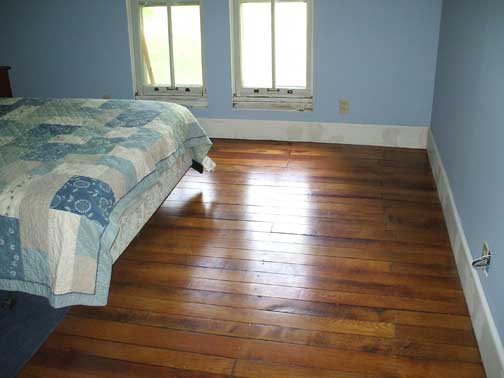
Baseboard trim in the guest bedroom.
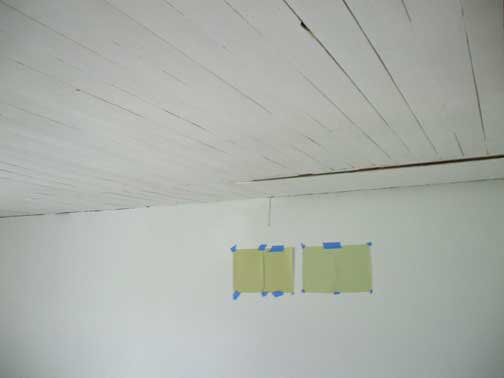
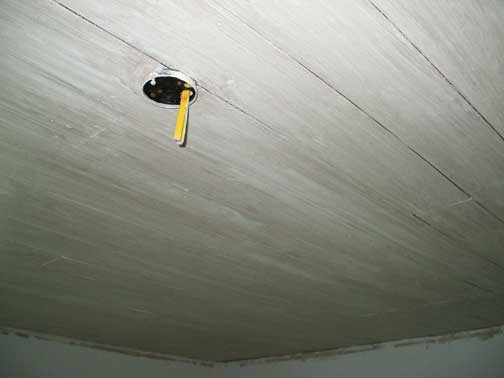
Primed walls and ceiling in the master bedroom. I hung a few paint chips of the color we liked
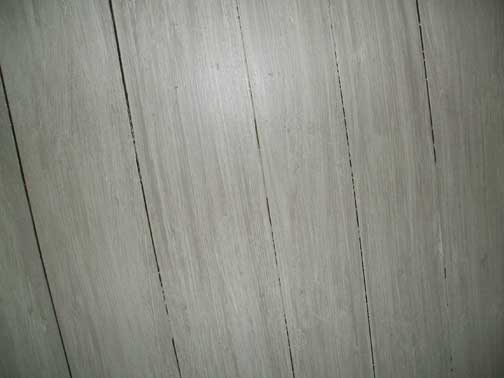
A close-up of the faux finish on the ceiling.
Another view of the faux finish.
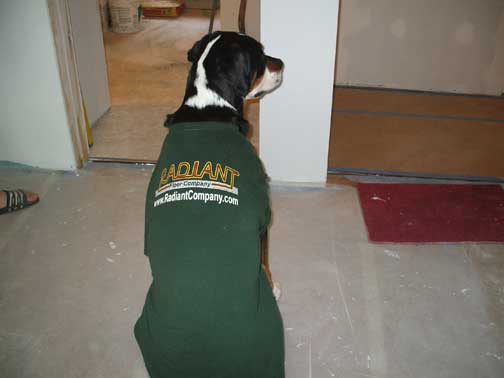
Here's Spencer modeling the Radiant floor t-shirt. It's pretty amazing that Mike's shirts fit him so well!
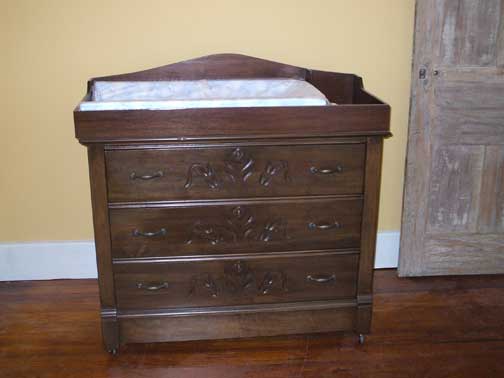
Mike's folks brought this with them. It's a dresser/changing table. Grandpa made the top and it's removable, so later on it can be our little girl's dresser.
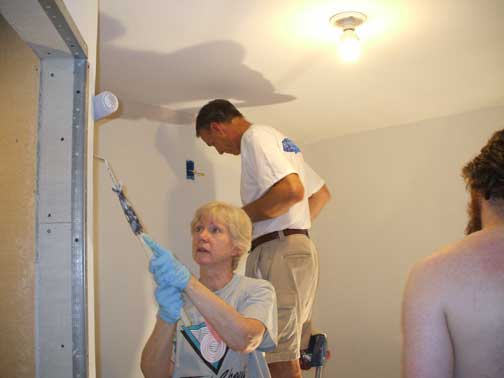
Sue was in charge of painting during their visit. She primed the walls and ceiling in the hallway and then put on a coat of paint that you see here.
Mike, Ron and Sue were all working hard here getting paint on the master bathroom walls so that they could move ahead with the next bathroom project.
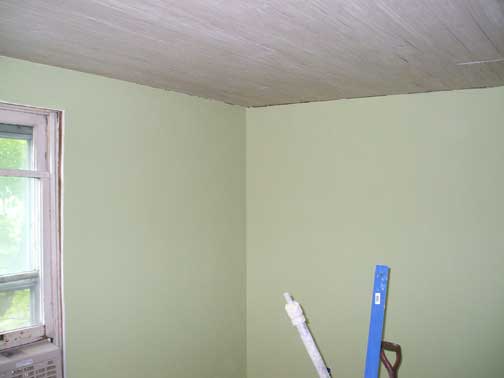
Mom also painted the master bedroom. Here's a look at our color selection.
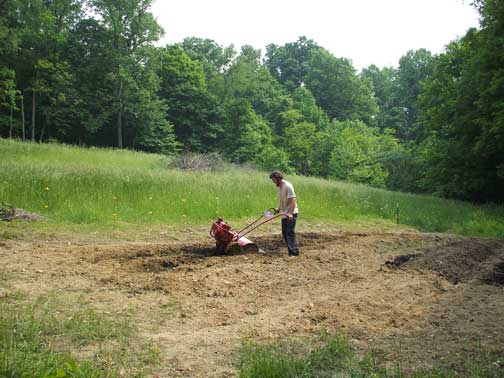
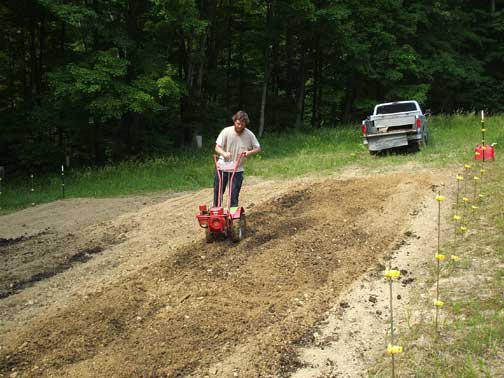
Mike's folks brought Grandpa's tiller with them. Here's Mike putting it to good use in our garden.
Mike borrowed our buddy Dan's truck and added a few loads of composted cow manure to the garden. Here's Mike tilling in the compost.
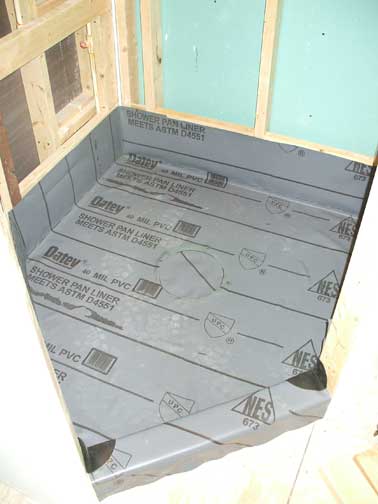
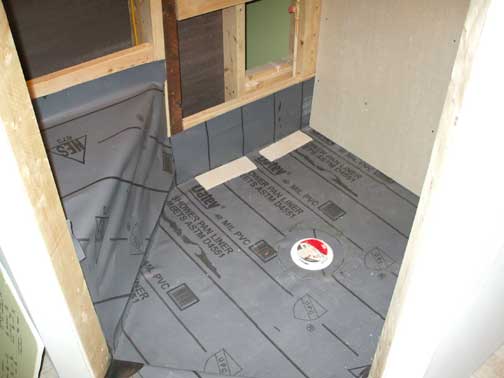
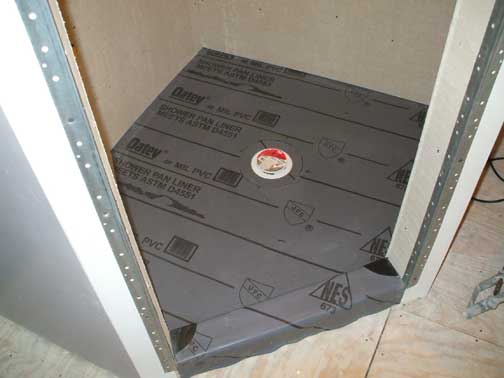
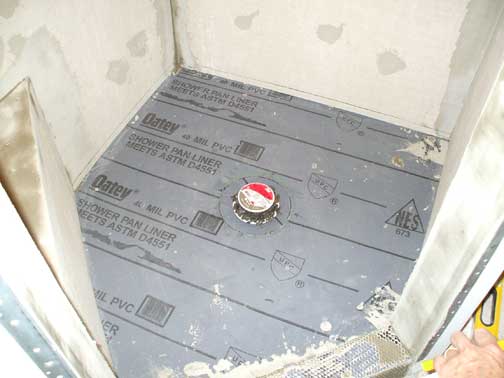
This is the floorpan for the master shower. This is the base coat of mortar with steel lath already in it for support.
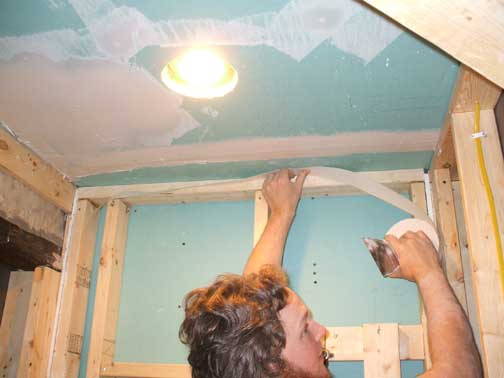
Mike's finishing a little drywall on the ceiling in the shower.
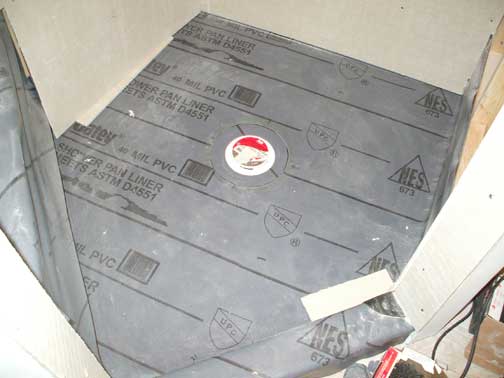
The plastic membrane was stapled along the edges and put in place over the mortar.
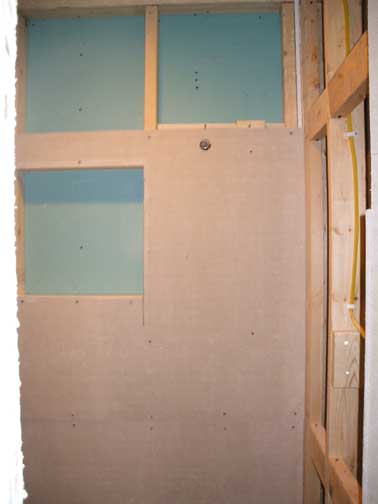
The first piece of cement board was installed right over the plastic membrane.
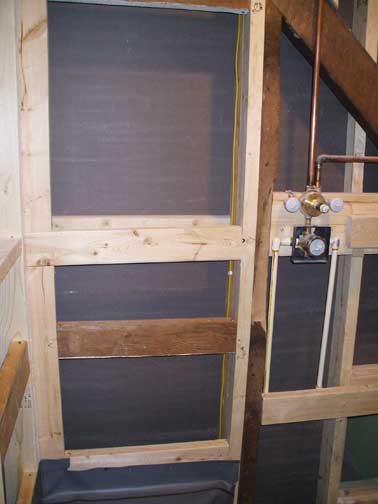
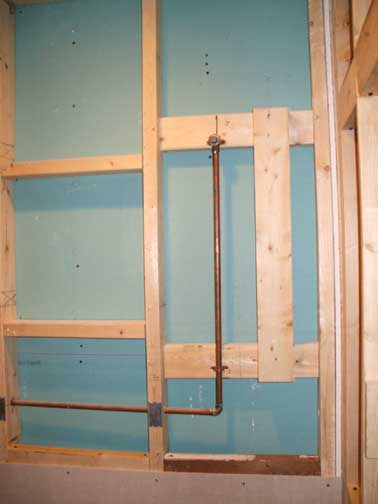
A lot of bracing blocks were added in between studs to hold the weight of the cement board and the tiles.
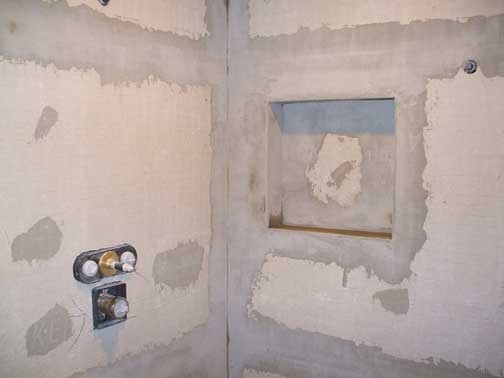
This will be the second shower head.
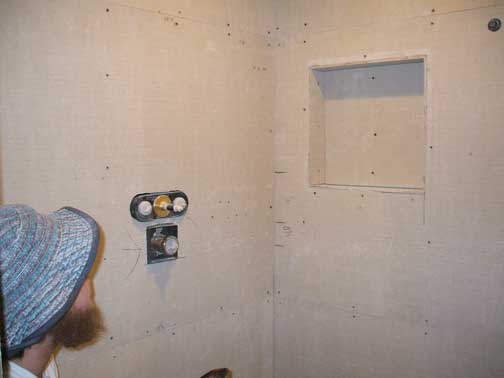
The cutout on the left will be a shampoo cubby.
Here's Mike admiring his cubby!
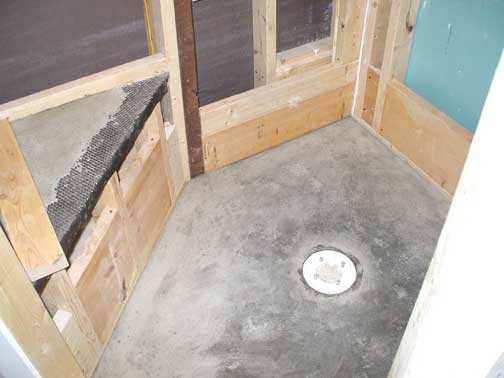
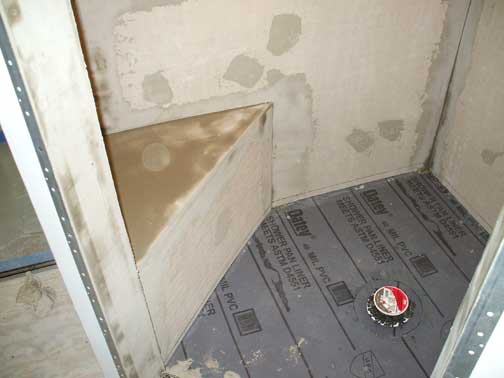
The base of the shower with all of the cement board installed.
A view from just outside of the shower. The corner beads were also installed.
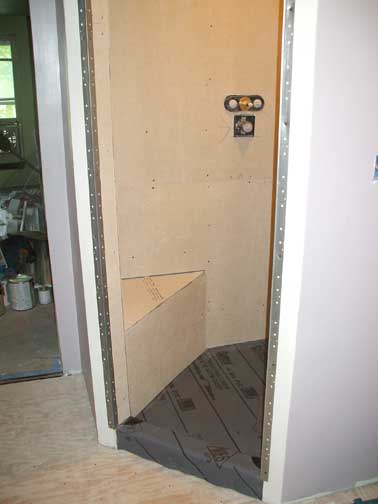
A view of the bench in the shower.
Mortar was used over the seams in the cement board.
Another look at the seams.
A little extra mud was put on the bench seat to establish a slope.
A second coating of mortar was put over the plastic membrane.
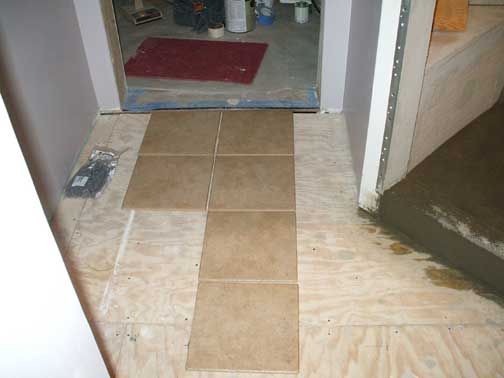
Now that the shower is pretty much done, it was time to move on to the tile floor. Here's an initial layout of the tiles.
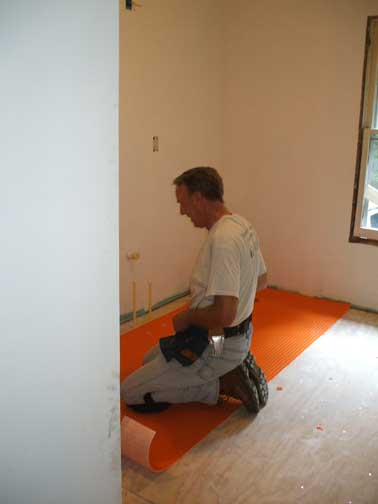
Here's Dad putting down the Schluter Ditra, an underlayment for the tiles.
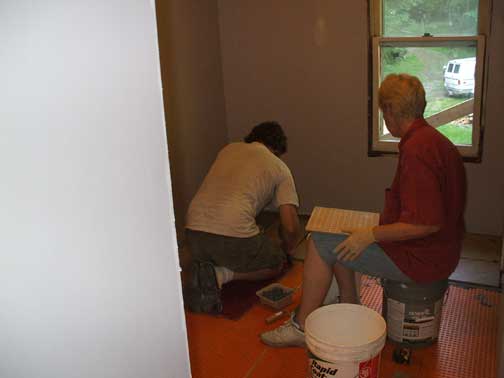
Mike and Mom working together laying down the tile.
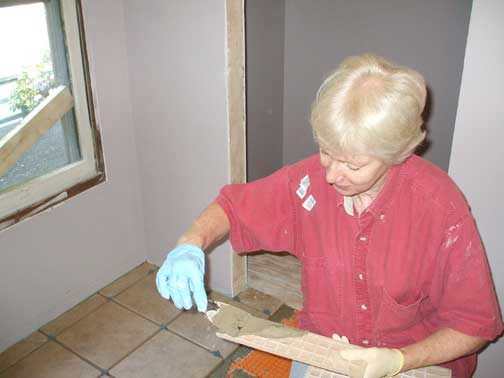
Mom was in charge of buttering the tiles.
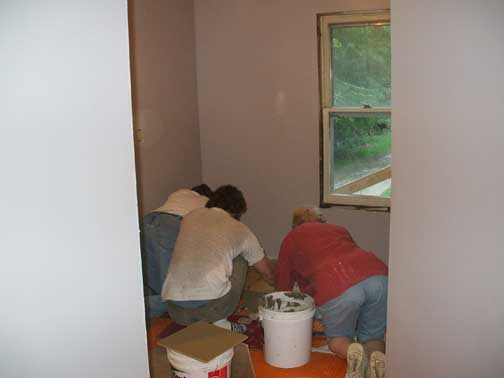
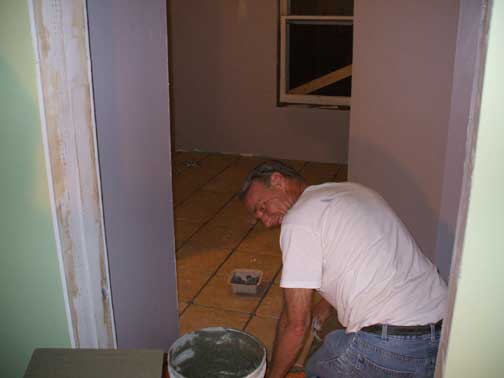
Dad and Mike took turns cutting the tiles and laying them out.
Here's Dad laying down the home stretch of tiles.
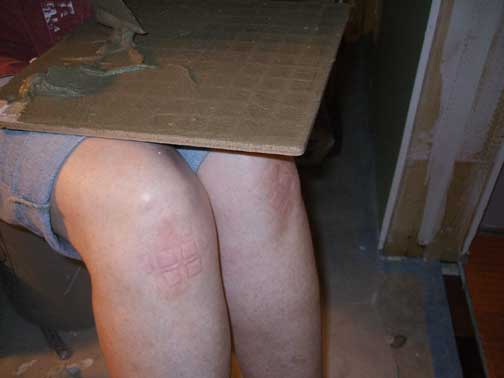
Mom's knees are all checkered after kneeling on the underlayment.
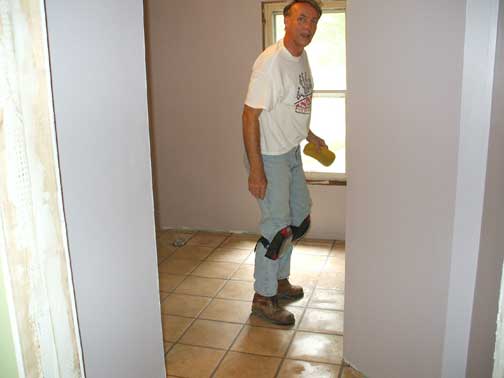
Here's Dad standing on the freshly sponged off tiles.
Monthly Menu Next Month

This site was last updated: December 1, 2007 3:09 PM

View My Guestbook
Sign My Guestbook