© 2001 Thomas Martin, All Rights Reserved. Not to be copied or reprinted without permission.
The failure of a wheel bearings while on the road is, at best, a major inconvenience and it can be much worse. Bearing failures cost timeand money and in the worst case can be the cause of an accident that could result in the loss of your boat or your life. Bearing failures while out on the road are always preceeded by the loss of the grease cap on the trailer's hub. This cap may be the standard sheet metal version or it may be one of a number of bearing protectors, generally called bearing buddys. While you are out on the road ff the grease cap stays on the hub the bearings will not fail. Enough grease will be retained in the hub, even if the rear seal has failed, to continue lubricating the bearings. So the most important thing the trailer boater can do is to find a way to ensure that the caps stay on. A very simply way to do that is to fit a set screw to each hub that will hold the cap in place even if the hub overheats and expands. The following text and pictures explain how to install a set screw into your hub. Its a simple process and inexpensive as well. Here's how its done.
The first step is to mark the postion where the screw will be placed. In step two the center punched dimple is drilled. The next step is to tap the hole where the screw will be placed and that is followed by cleaing the hub of the metal shavings from the drilling and tapping operations. The set screw you should use will be a quarter inch in diameter and threaded the common NC (National Course) 20 threads per inch. There are two types of set screws, those which tighten by use of an Allen Wrench and those that use a screwdrive. You need set screws that use an Allen Wrench. These are easy to identify in that they have a hexagonal hole to accept the wrench. Drills and taps for this very common size are available at any hardware store as are the set screws themselves. The Drill bit will cost about $2.00, the tap will be about $3.00 (many stores sell drills and taps in a bubble wrapped set) and the set screws will cost about $0.50 each.
Step 1 - Marking the Spot:
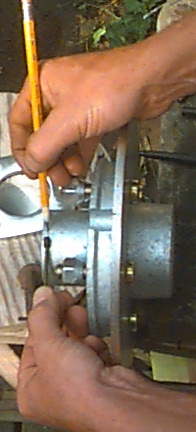
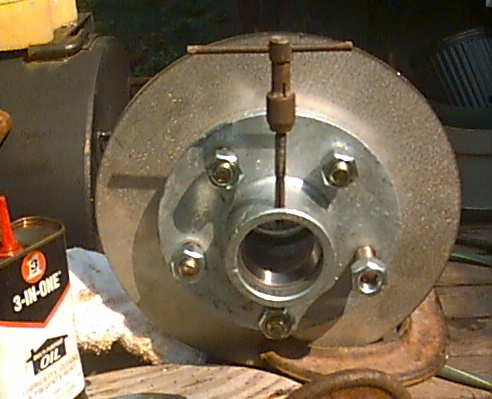
We'll begin by first marking the position where the screw will be mounted. I've found that the easiest way to do this is by simply holding the set screw up to the hub and marking the appropriate place for its center with a pencil.
Notice that the set screw, which is being held with an allen wrench, is back from the lip of the hub just slightly, about an eighth of an inch. The hole will need to be drilled such that there is a remaining shoulder of material left on the hub of course but it still needs to be quite close to the edge. The reason is that dust caps or bearing buddys protrude into the hub a little less than 3/8". You want the hole drilled so that the set screw strikes the part of the cap that is pressed into the hub about midway.
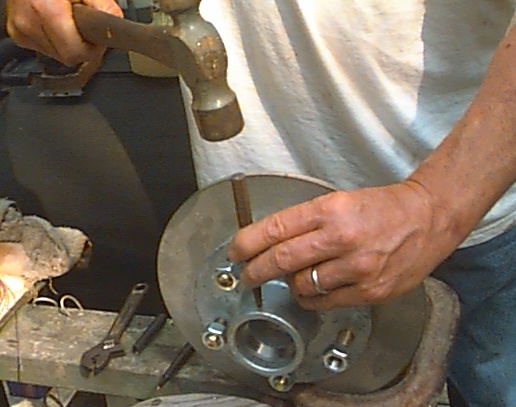
Step 2 - Center Punch the Marked Spot:
Before drilling the hole which will be tapped its necessary to center punch the exact spot where the hole will go. This stops the drill bit from sliding around on the hub and ensures that the hole will be exactly where you want it. The punch is placed on the the pencil mark and struck a single blow, with enough force to dimple the hub. You don't have to strike it extremely hard, just about as hard as you would hit a finish nail is fine.
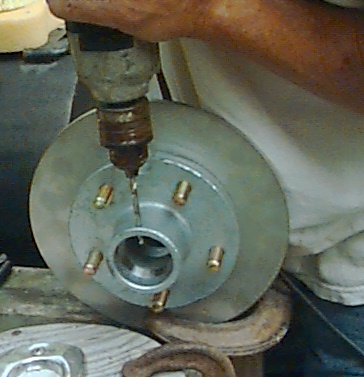
Step 3 - Drill The Hole:
Once the hole has been center punched it can be drilled. I drill a pilot hole of 1/8" first and follow that up with the final drill which is 7/32" (or the numbersed size that may have come with a bit/tap set). It is important that the drill bit be held straight and that you not allow it to wobble and drill and oval hole. Starting with a pilot hole will make this much easier to do. Also, the cast iron that the hubs are made of, be they galvanized or not, is very easy material to drill. Just lubricate (a few drops of oil) your drill bit and it shold be very easy to drill.
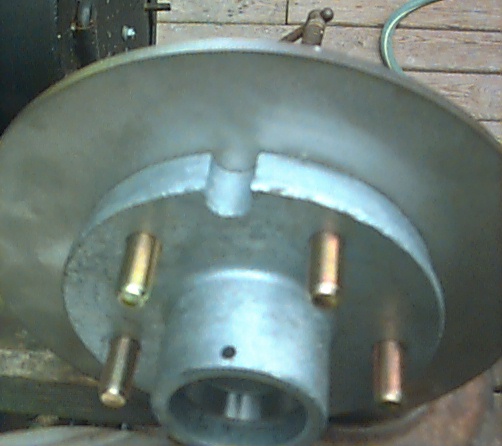
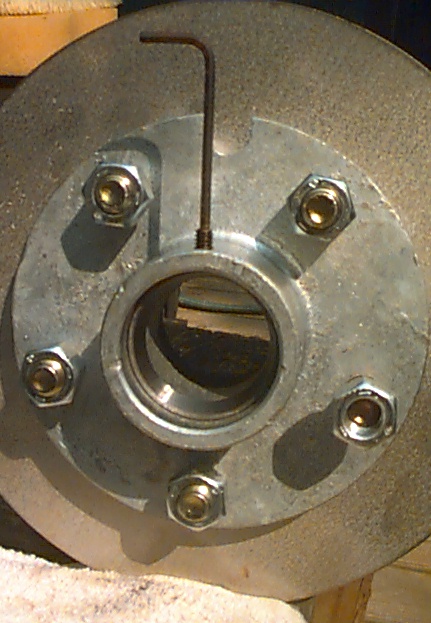
The result of your marking, punching, and drilling is a clean hole near the edge. It will look like this:
Step 4 - Tap The Hole:
After the hole has been drilled and the metal shavings cleaned its time to tap the hole. Put the tap (check the tap to make sure it is 1/4" x 20 NC - this will be stamped into it at the top) into a tap handel and press it into the hole. Lubricate the tap with light oil and begin turning it in a clockwise direction. Apply firm pressure on the tap as it begins to bite into the metal of the hub. Once the tap has got a good purchase on the material it will cut the threads easily. Be careful to not break the tap. If you feel what seems to be to much resistance to turing the tap back it out, clean the hole, relubricate it, then reinsert the tap being very careful to screw it into the threads you have already begun to cut, and resume cutting threads. Sometimes its wise to make about two turns into the material and then to back the tap out a turn, relubricate, and then resume tapping. Continue tapping until the tap passes all theway through the hub material and spins freely.
Step 5 - Trial Fit and Cleanup:
With the hole tapped you can, after cleaning up the metal shavings, insert your set screw for a trial fit. it should screw down into the hub easily and it should be square to the hub. It will look like this:
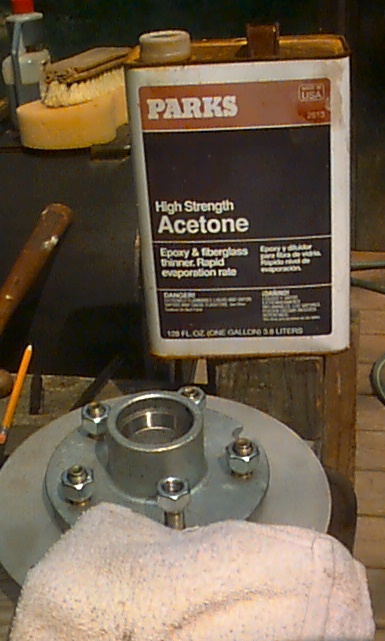
Finally, with the hole tapped and a successful trial fit of the set screw its time to clean up. Using an appropriate solvent clean the hub throughly. Make sure to remove all metal chips that have fallen into the hub during the process.
With the hub clean you can repack your wheel bearings and return the hub to the trailer. Make sure you push some grease into the tapped hole. Once you have put the hub on the trailer and have reinserted the grease cap or bearing buddy, whichever you use, just insert the set screw into hits hole and tighten it down quite firmly. With the set screw inplace press a small daub of grease into the set screw's hole, where the allen wrench fits. I have never lost a set screw and I've never had any problem removing one from a hub either. Also, over the several years I have been using this method I havne't had any problems with corrosion of the set screw or its hole. More importantly I have never lost a grease cap and not had a bearing failure since I took up this method of securing the cap.
If you have any questions about installing one of these set screws please feel free to contact me at tandjlm@host.dmsc.net
Thom
© 2001 Thomas Martin, All Rights Reserved. Not to be copied or reprinted without permission.